Wednesday, July 11, 2012

1960's Ranch Renovation: More Photos

I might not be able to write this all out tonight, but I will put more photos on the blog as requested.

We started the addition on Feb 15th (the day after my Grandfather's 100th birthday!).  Here's the general sequence:


  1. building plans with architect - 2-4 weeks
  2. permits and plan review/ zoning review 2 weeks
  3. foundation (pier and beam with crawlspace) work and then inspection - 1 week
  4. framing then inspection - 2 weeks
  5. plumbing/electrical/mechanical then inspections - 2 weeks
  6. insulation then inspection - 2-3 days
  7. drywall - 1 week
  8. plumbing/electrical/mechanical finals and inspections - 1 week
  9. hardwood flooring install/sand/finish - 1 week
  10. trim/paint/details (a few things are still not done :-)
  11. final inspection (the paint and trim aren't required for the final - so we did 10 before we finished all of 9)   

We passed our final on April 30th, so just two months and two weeks from our start date (that's FAST).


Thing were going along pretty smoothly... UNITL....  March 2nd.  http://www.wsoctv.com/news/news/local/nws-issues-tornado-watches-nc-mountains-sc-upstate/nLKK2/

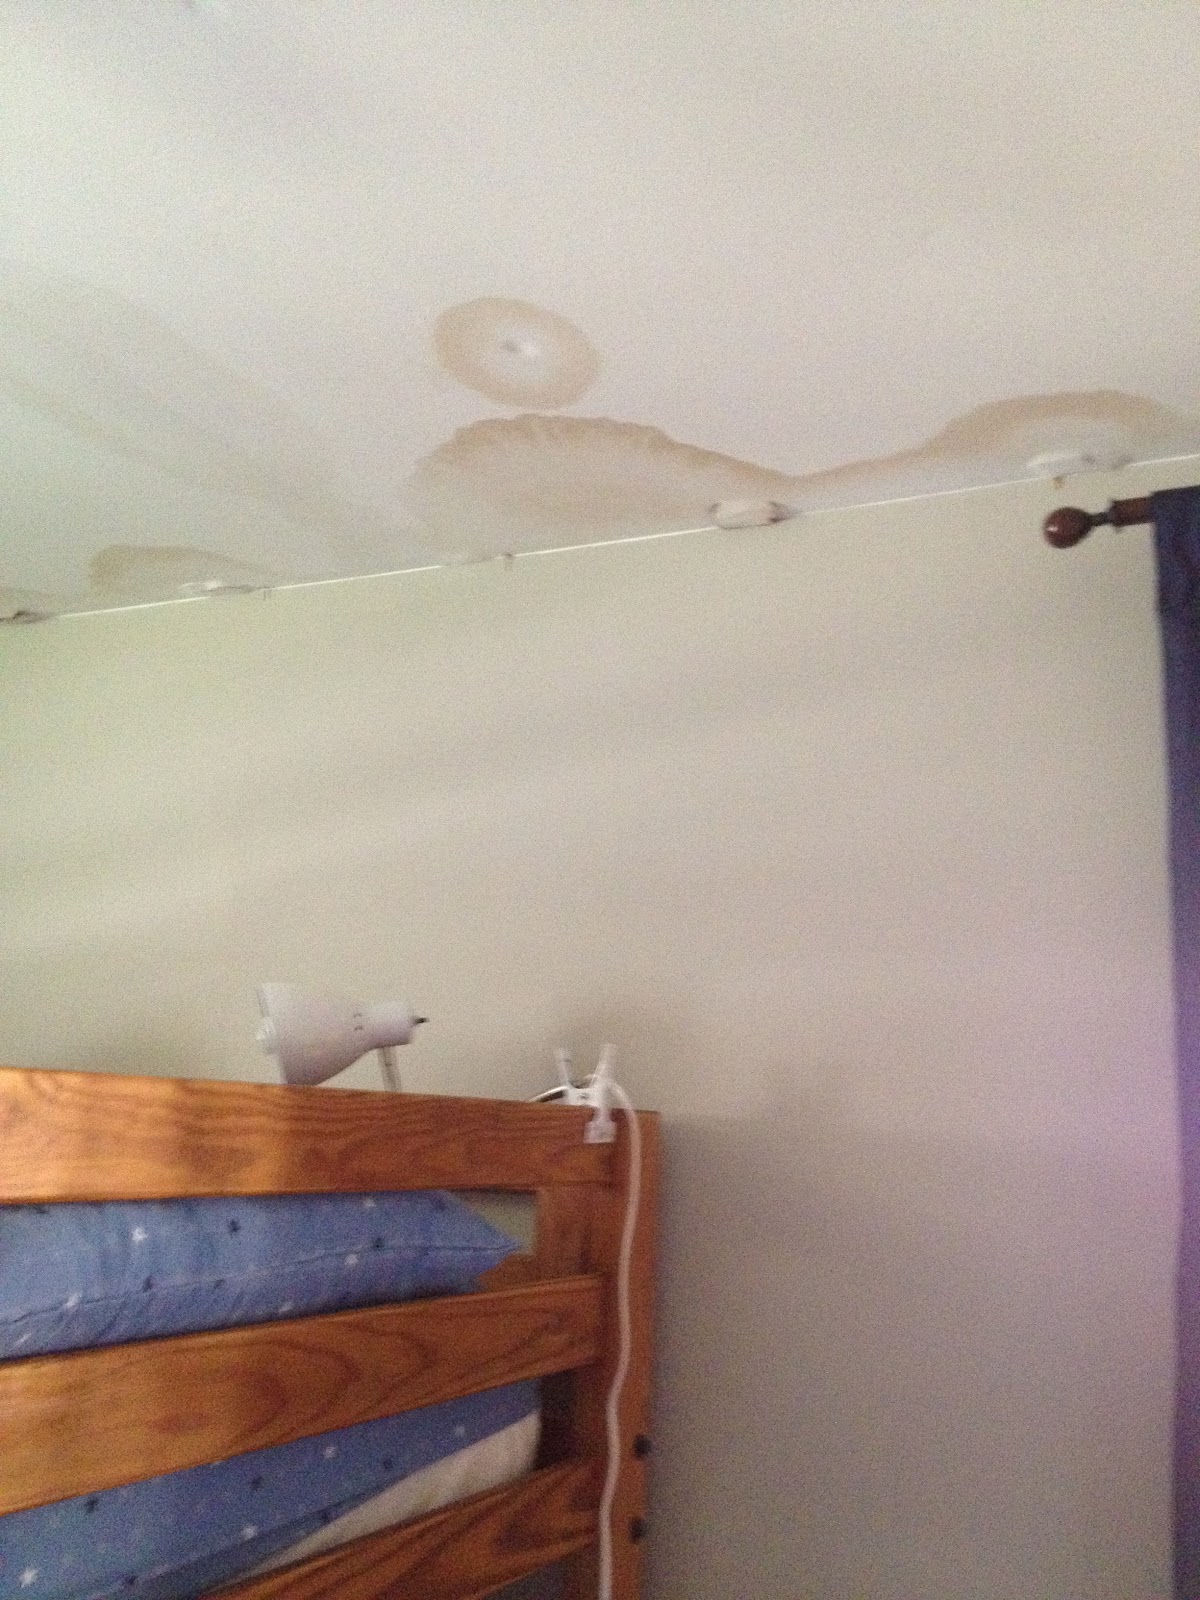
The house was not totally "dried in" meaning our roof had holes where it connected to the new addition.  This storm dropped several inches of rain that night and caused thousands of dollars damage to parts of the house we had already finished.  The initial damage didn't look that bad (drywall was still up, right?) - but we knew the wet insulation would cause trouble down the road.  We had to call a water remediation company who came to dry out the space.  They hauled about 30 bags of insulation and drywall out of the house and set up about 8 large, noisy dehumidifiers and blowers.  It was FREEZING when the temperatures dropped that week, because we had no insulation, no drywall, and no finished roof.  Dark days...  


After that setback... it was time to get back to building the addition and repairing all the damage from the water remediation company:


We also knew that if we were going to get sod put down this year... it had to be NOW.  So we installed Zoysia sod one weekend.  That's hard work!


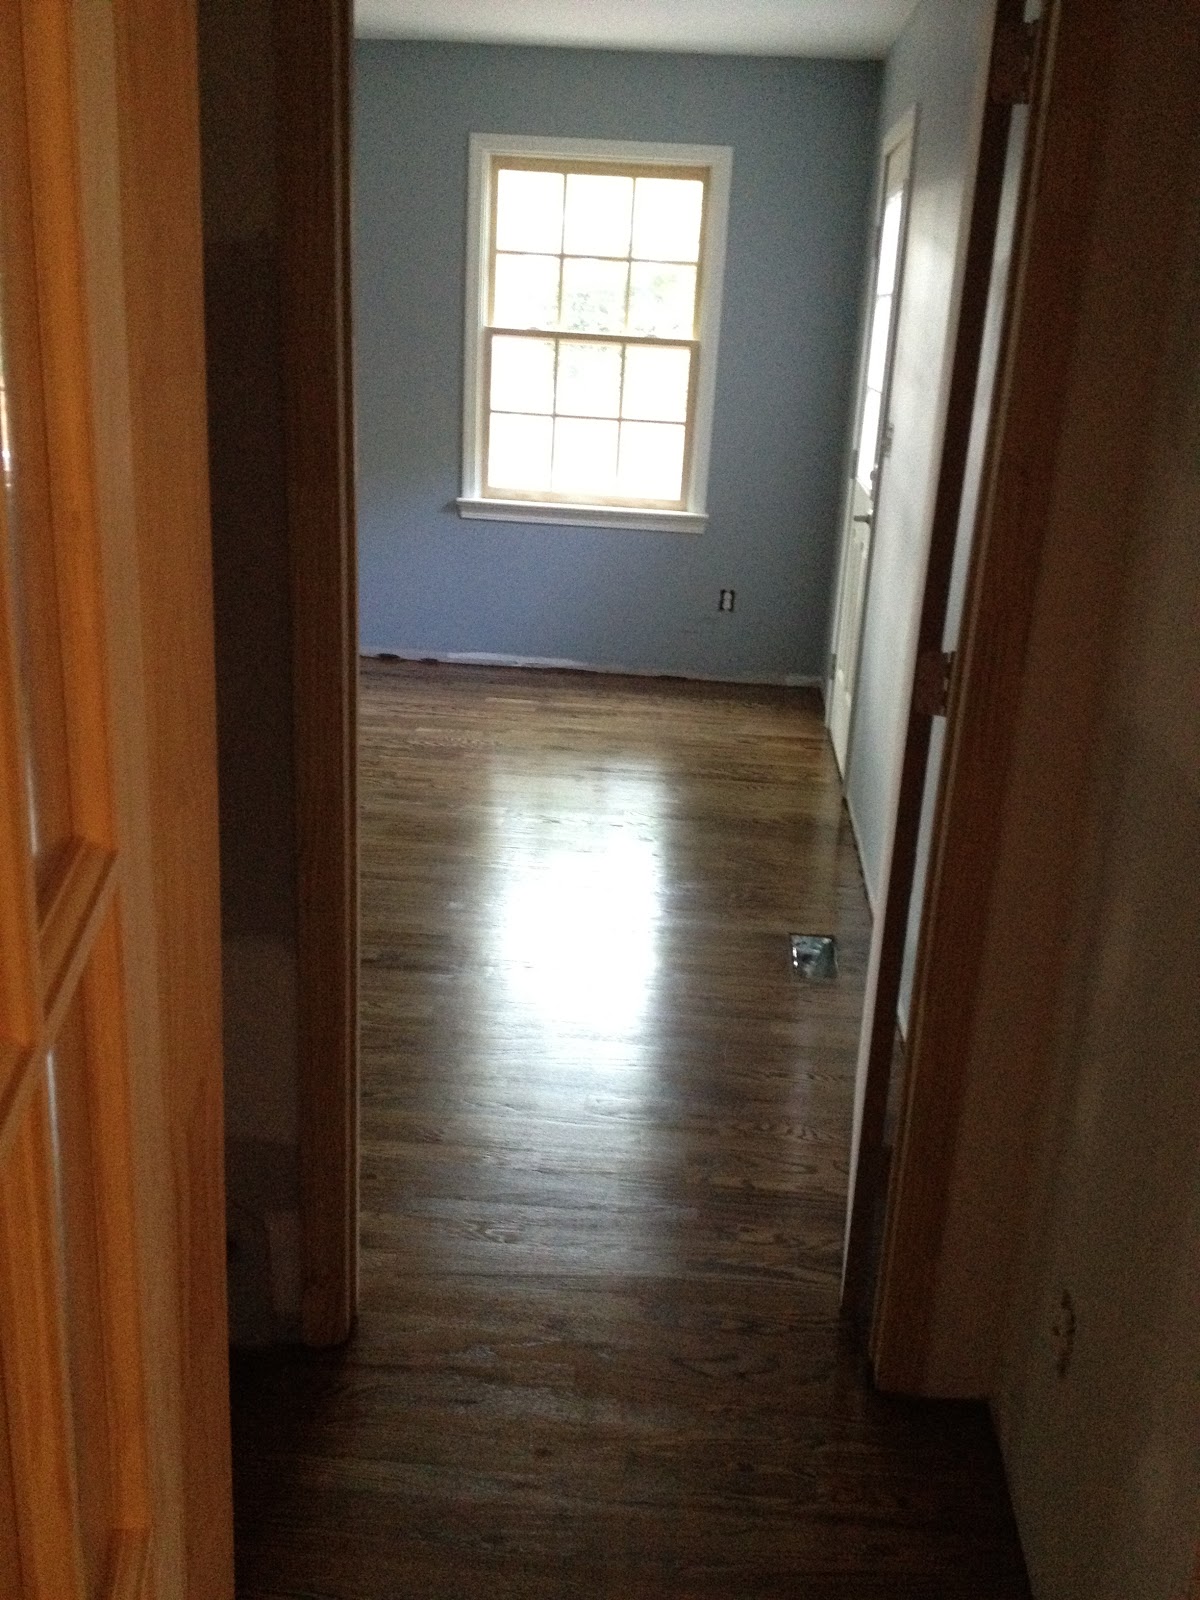
Here are the nearly finished floors in the new addition (early April 2012)


Bathroom marble arrives!


Tile Finished!  We love the shower.  Carrera marble from Home Depot (actually, I think they call this Grecian White, it's only about $2 a sq ft - the floor with the pattern is much more).


Costco Wall Shower Panel.  Highly recommend it!  Although it is probably not helping the water bill.


We moved out hot tub from our other house.


Exercise room complete, although I'm not finding that much time to use the room.


Bathroom very close to finished (missing crown moulding here and our mirrors).  That's the original brick wall at the back of the house.


Ikea Billy Bookcases modified to be built in (in our living room).  


Custom mudroom cabinets in the former screened porch / now sunroom space at the back door.


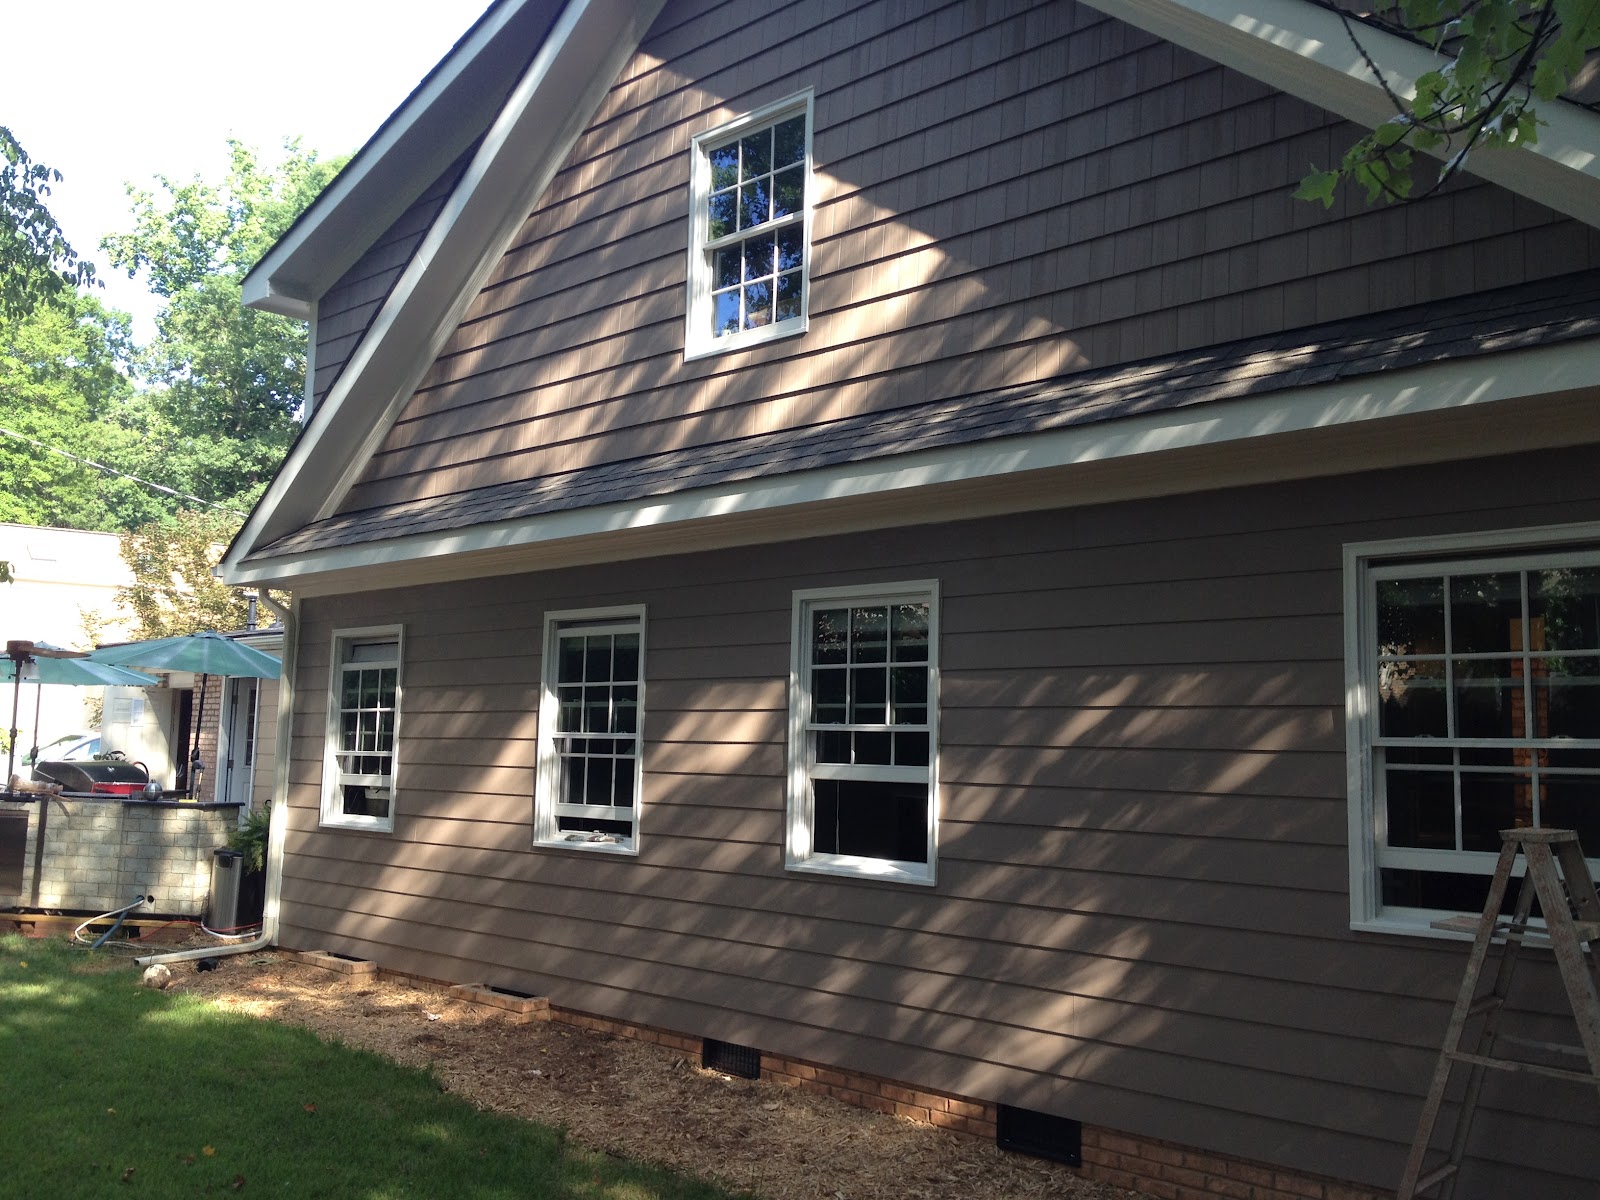
We ended up doing much of the painting (all interior and almost all the exterior), so I was thrilled to finally be able to take this photo of the rear of the house painted.


What's left?  More landscaping - the back yard is only half finished, shoe moulding (the quarter round) between the base moulding and hardwood floors.  We have very few photos/art on the walls, we just haven't had time.  A few more details like touch up paint, staining the handrail on the stairs and newel post.  I'm afraid some of these will be on the punch list to get the house on the market to sell (not part of our original plan, just projecting ahead someday).


1960's Ranch Renovation Part Two: Kitchen

So, just having arrived at the house from the attorney's office, we set out to demolish the wall between the kitchen and den.  My amazing husband was a great sport.  The only downside to being a female general contractor is that some jobs are just about brute force - and that's not my strength.  Peter did a great job with the reciprocating saw and sledge hammer.  By the way, this is a NON-load bearing wall.  Don't try to remove any wall without first determining the structural integrity of the wall and room.


While we had the house under contract, I was working on kitchen plans and layouts.  If you've never been on the gardenweb forums... they are a phenomenal resource.  I found it easier to do some of the design with good old fashioned paper cut to 1/4" size to move the sink, stove, dishwasher, and seating area around.  I wanted an eat in kitchen space comfortable for seven that was NOT an island.  My last kitchen had an island (almost a continent), that although I loved it, was not as suitable for sitting down to dine with everyone, since we couldn't face each other, instead we sat in an "L".  Here's an example - but not what I needed up with:
To maximize the budget, I kept the sink in it's original position, the stove moved only a bit, and the fridge was in essentially the same location.

To keep my timeline, I chose to use Ikea cabinet bases and counter tops.  I had this "great idea" to get custom doors from a cabinet shop in North Dakota so I could have a custom paint finish over real wood cabinets.  Ikea doors are mostly wood or plastic composites.  In retrospect, they are composites for a good reason - there's much less expansion and contraction of the wood.  And finishing all the doors on my own was a lot of work.

A few great things about Ikea:

  • Everything is modular - and the interior fittings are so nice (the pull outs, organizers, soft close doors)
  • Everything can be purchased separately - you can get just the insides, the boxes, just the doors, any way you like it.  That means every year I can buy new doors and drawers to trade out for my current ones and have a totally different look for very little money.
  • They have great sales and will give you credit within 90 days of purchase.  I bought my kitchen at the end of January, but their annual kitchen sale started in March. I went back for a price adjustment and got 20% back.


We worked all day on the wall demo - but it's very hard work. I had a crew of guys who were available to help starting on Saturday and what a different 8 guys can make in a short amount of time.


The electrician was next, to move all those pesky wires... and we ran into our first major conflict.  I love my electrician, we've worked together for years, but he loves NEW construction work - NOT renovation.  To do renovation work, you need to fish wires down walls and get into the attic and crawl space.  New construction - not so much, it's easier.  So he told the crew of guys to gut the walls and ceiling (without my permission).  We had some battles over this, even some tears.  I saw my budget eaten up by his laziness and I guess he thought I was flat out stubborn and making life difficult for him.  It ended up costing nearly $1,000 more to repair all the drywall he had ripped out (and I lost about a few days of time).  Grrrrrrh!


As much as I would have loved to continue the hardwoods into the kitchen, that just wasn't going to fit into my budget, so I installed "luxury vinyl" tile with my stepson.  You peel and stick it down, then grout the seams so it looks more like tile.  Overall, I'm very happy with it.  Yes, it's vinyl - and that has a non-luxury image.  But, it's soft to walk on, it's not cold like real ceramic tile, it's water resistant, and it's CHEAP!


Next up, cabinets...   so off to Ikea we went (the fifth or sixth of maybe twenty five trips).  We ordered the cabinets and they were delivered the next day.  I think it was 210 items that needed to be assembled.  Wow.  That was a job.  Here's my "staging" area to assemble cabinets.  They took about 30 minutes each, so really not that bad.  Ikea has a very clever design, I'm constantly amazed.


I needed Peter's help to get them installed, so the work sometimes had to wait until he was off work or over the weekend - but I think we were installing cabinets 8 days after closing.


I had a plumber lined up to start the following Monday, so I needed counter tops in ASAP (the counters go in, before or at the same time as sinks, then and only then can the plumber plumb those sinks).  It was a bit of a mad dash to get done.  

I loved the look of soapstone - but again the evil budget... so I stained butcher block counters black with India Ink (an idea I found on the gardenweb kitchen forum).  Then sealed them with waterlox.  So, about the wood counters...  they are not granite or stone - but at one fifth the price and instant installation (versus 2 weeks for stone or more), they were a fair compromise to get our kitchen done quickly and under budget.

My wood doors arrived from Scherrs of North Dakota and I set up a paint shop in the screened porch (so thankful for a mild winter!).  


Then we were able to begin installing doors and finishing things up.  You can see in the last photo we added a small freestanding island/cart.  And unfortunately, I have STILL not finished the crown moulding on those cabinets... but it's on my list.  The kitchen was "finished" in 2-3 weeks total and UNDER budget.  :-)